Table of Contents
Industrial 3D Printing Workflow Efficiency Best Practices
Industrial 3D printing has gone far beyond simple prototypes. Today, it’s widely used for real production and tooling in short‑run manufacturing, and that’s pretty normal now. What often gets missed is that even top‑tier machines can struggle if the setup is rushed or poorly thought through. There aren’t real shortcuts here, and problems show up quickly. Many teams buy expensive hardware, then lose days to failed prints or slow changeovers that force repeated recalibration. It’s frustrating, and most people working with industrial printers have seen this happen more than once.
That’s where a smart 3D printer setup really helps. When a system is set up the right way, it can save hours each week while also improving part quality. Less material gets wasted, which usually affects the budget sooner than expected. Over long projects, especially ones that seem to stretch on forever, those small improvements add up fast.
For engineers, educators, and other advanced users across Australia, the pressure is even higher. Long supply chains and high labour costs leave little room to recover from mistakes. Tight schedules don’t allow much trial and error. Industrial FDM systems are powerful, but they only deliver steady results when setup is done with clear intent, and that often takes more planning than people think.
This guide looks at practical, proven ways to improve workflow efficiency in industrial 3D printing. It starts with hardware layout and calibration, then links that foundation to software integration, material handling, and upgrade planning. The aim is simple steps you can use right away, whether you’re tuning one machine before a deadline or keeping output steady across a busy print farm.
Start With the Right Physical Setup for Industrial 3D Printing
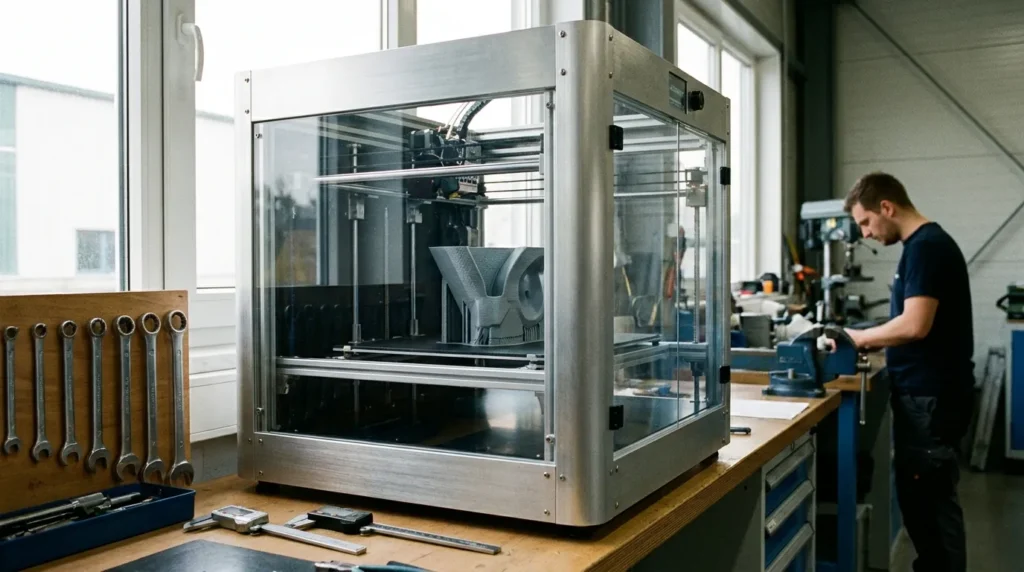
Many problems blamed on hardware are really layout issues, and that’s often where frustration begins. Workflow efficiency starts well before the first print, because the physical setup of an industrial 3D printer shapes uptime, safety, and how consistent parts look over time. From what I’ve seen, this step gets rushed too often. I’ve watched the results play out more than once. Cutting corners here usually shows up later as failed prints or extra maintenance, which is never fun for the person who has to fix it.
Placement is a clear example. Industrial FDM printers run best on solid flooring with very little vibration and enough space on all sides, especially at the back and on the service side. Tight layouts slow down nozzle changes and routine jobs like belt checks or material swaps. Each delay feels small, but week after week, they stack up and wear on teams.
Power matters just as much. Unstable voltage or poor connections can cause layer shifts or mid‑print resets, the kind of surprise no one wants. In production settings, dedicated circuits and proper grounding are standard, even if they’re easy to gloss over during setup.
Environmental control also needs attention. Temperature swings and drafts often hurt print quality, especially with engineering‑grade materials like ABS. Enclosures and a steady room temperature make repeatable parts far more realistic day after day.
Industry data supports this focus on setup. Industrial FDM systems cut lead times and tooling costs, but only when the surrounding environment is dialed in and stays that way, right down to avoiding a cold draft across the build chamber.
| Metric | Value | Year |
|---|---|---|
| Industrial 3D printing market size | USD 18.3 billion | 2025 |
| Tooling cost reduction using FDM | 80, 90% | 2025 |
| Lead time reduction with additive manufacturing | Up to 8x faster | 2025 |
| Typical industrial FDM throughput | ~50 cm³/hr | 2025 |
Dial In Calibration for Speed and Precision
Pushing print speed is exciting, but it’s also where calibration problems usually show up first. Calibration often gets treated like a one-time task, and that’s usually when things start to drift. It needs regular check-ins to keep a workflow running smoothly, especially when speed is the goal. When calibration slips, failed prints tend to show up fast, and rework starts eating into machine time. That kind of frustration is common, and often easy to avoid with steady upkeep.
Mechanical alignment is a smart place to start. Squared frames, aligned rails, and belts tensioned to spec help keep vibration under control at higher speeds. It’s not the most exciting step, but it matters more once the machine starts moving fast. In modern high-speed industrial 3D printing, even small mechanical problems become obvious almost right away. There’s not much room for error.
The first layer usually comes next. Bed leveling and first-layer control are key. Automated probing helps, but it still benefits from an occasional sanity check. A consistent nozzle-to-bed gap improves adhesion and keeps parts dimensionally accurate over longer runs. Anyone who has dealt with warped parts knows how fast inconsistency shows up.
Extrusion calibration needs the same attention. Flow rate and pressure-related settings should match the material and nozzle size being used. When these are dialed in, higher speeds are often possible without hurting surface quality, which feels like a real win.
Firmware matters too. Systems like Klipper support real-time adjustments and faster motion planning, which explains why many professional users add custom firmware during setup, it fits the need.
We walk through how modern calibration workflows look in real use in the video below, focusing on high-speed FDM tuning with practical examples.
Integrate Software to Remove Bottlenecks in Industrial 3D Printing
Hardware alone rarely defines efficiency, and most teams figure that out pretty early. Software is usually what connects design files, slicing settings, print runs, and machine monitoring into one workable flow, the unglamorous but important layer. When those steps live in separate tools or move between different people, small delays tend to stack up. It’s frustrating, and the effect isn’t always obvious at first.
A good place to start is standardising slicer profiles. Approved profiles for specific materials, nozzle sizes, and common part types remove a lot of guesswork. Setup is quicker, and simple mistakes like wrong temperatures or layer heights happen less often. In team settings, shared profiles also help prints stay consistent across shifts, which operators usually like. Fewer reprints also means fewer “what went wrong?” chats.
Remote monitoring earns its value by catching problems early. Live machine status, camera feeds, and alerts let one operator watch several printers at once. This matters most during active shifts, when someone can actually respond and fix issues fast.
Scheduling tools often help more than people expect. Job queues support daily planning, time estimates make handovers smoother, and automated restarts keep printers running overnight or on weekends. Machines stay busy even when no one is around.
Many industrial teams also link printers with existing manufacturing systems that already handle part tracking, revision history, and quality records. It takes some upfront work, but it usually pays off as volumes increase.
Australian-based providers like Raven 3D Tech support this approach by supplying printers pre-configured for established workflows, for example, a new machine arriving ready to drop into an existing job queue on day one.
Control Materials to Avoid Hidden Failures
Uneven prints often come down to material handling, an area teams tend to overlook. The good news is that these issues are usually simple to fix once people start paying attention, even if that focus can fade over time. In daily production, small routines often matter more than expected, especially when prints are running one after another.
Most industrial filaments absorb moisture from the air. In humid rooms, that moisture can lead to bubbling and weak layer bonding, which quickly hurts surface quality. For production work, dry storage isn’t a nice extra; it’s often necessary, especially in shops that print almost every day.
As output increases, sealed bins with desiccant may stop being enough, and active drying systems make more sense. Inline filament dryers are common in nonstop setups because they cut down on guesswork and keep material steady as it feeds into the extruder.
Material traceability helps in quieter but useful ways. Labeling spools with material type and batch number may seem boring, but it often saves time when issues show up. That usually means fewer surprises.
Design decisions matter too. Smart part orientation reduces the need for supports, and standard templates help teams work faster. Skipping drying cycles or mixing old and new stock, on the other hand, often leads to failed prints halfway through a shift.
Plan for Scalability and Future Upgrades
High-speed extrusion systems are appearing more often, and there’s a clear reason people like them. Getting higher flow rates without giving up accuracy can be a real win. Still, that upside only shows up if the motion system, cooling, and firmware can keep pace, instead of quietly slowing things down as speeds increase. It may sound straightforward, but in real use it depends on a well-balanced setup.
A setup that works well today should also hold up tomorrow. Industrial 3D printing keeps changing, and workflows usually need space to shift as materials, priorities, and expectations change, which they almost always do. Hitting a dead end can get expensive, especially when the same machine is meant to stay in service for years.
Heated build chambers matter more now than they once did. Steady temperatures tend to improve layer bonding and make stronger polymers easier to run. Over long print jobs, that consistency often cuts down on stress and saves time, something most teams value.
Automation keeps moving ahead too. Print failure detection, adaptive tuning, and background scheduling reduce constant oversight and let operators focus on more valuable tasks. Planning for upgrades early helps: simple choices like accessible wiring, extra firmware capacity, or modular parts often pay off later, such as when adding a new sensor without pulling the whole system apart.
Put Efficiency Into Daily Practice
What’s interesting about workflow efficiency is that it rarely shows up through one big, dramatic change. Most of the time, it grows from small, slightly boring tweaks that quietly add up. A stable physical setup creates that steady dependability, like keeping a printer properly leveled on its own bench instead of a shared table. Calibration keeps quality predictable, while smart software choices reduce slicing delays and failed jobs. Good material control cuts waste, and a bit of forward planning helps the system stay useful as needs change.
You often get the biggest improvements by slowing down and really looking at what’s already there. That step matters because familiar problems are easy to miss. Where do failures keep happening? Which changeovers take too long? A helpful place to start is spotting manual steps that feel unnecessary or could be simplified. Handle those first, since small fixes often pay off faster than expected.
Writing things down helps more than it seems. Short setup notes, routine calibration checks, and clear material rules keep everyone on the same page, even as the team shifts. I see real progress when an industrial 3D printer is treated as part of the wider manufacturing flow, turning it into a dependable production tool instead of an ongoing experiment.
