Table of Contents
Essential Guide to 3D Printer Calibration: Techniques for Precision and Performance
In industrial-grade FDM 3D printing across Australia, 3D printer calibration is often the unsung step that turns raw machine power into consistent, reliable output. Whether you’re aiming for a tricky prototype with tight tolerances or tough tooling built to handle heavy use, accuracy can be the difference between success and frustration. Moreover, skipping proper calibration usually means wasted filament, strange surface flaws, and long hours chasing confusing issues—problems most experienced users have faced more than once. The upside? Today’s calibration tools are faster, smarter, and far less annoying than the clunky systems from a few years back.
Here, you’ll look at the key 3D printer calibration steps every FDM printer benefits from. One helpful angle is seeing how automation now speeds up daily tasks, then mixing in practical tips from seasoned operators. You’ll get focused resources to keep your printer tuned, making bigger, more detailed projects more about creating and less about fixing problems.
Why 3D Printer Calibration Matters in FDM 3D Printing
3D printer calibration keeps a printer making parts that match the size and material specs you wanted, rather than ending up with warped or uneven pieces. In industrial production, it’s what lets every batch stay within very tight tolerances. By 2025, some high-end FDM machines might reach resolutions down to 20 microns, but that kind of detail usually only happens when they’re tuned just right. This level of accuracy matters a lot for aerospace or medical projects, where even a 0.1 mm error can make a part unusable. Staying consistent with calibration doesn’t just save headaches, it can also cut material waste. On big production runs, those savings can add up to thousands of dollars each year.
Automated calibration has become a game-changer in industrial FDM printing, drastically reducing downtime and ensuring consistent quality across production runs.
Modern printers often use built-in sensors, automated routines, and feedback loops to keep everything in line, so you’re not chasing tiny errors all day. This tech can reduce setup times by about 70% compared to manually adjusting each detail. Consequently, operators can spend more time planning production or checking quality instead of fiddling with settings. One shop with 50 printers regained hundreds of work hours every month after moving to auto calibration, a change they found more helpful than expected.
| Advancement | Impact | Improvement |
|---|---|---|
| Automated Bed Leveling | Reduced setup time | 70% faster |
| Optical Nozzle Height Sensors | Improved first-layer adhesion | Fewer failed prints |
| Material Profiles | Faster changeovers | Consistent results |
Think skipping calibration saves time? Usually it’s the opposite. A small miss on nozzle height or extrusion rate can cause warping, layers peeling, or parts slowly drifting out of spec. In a busy shop, that mistake can spread through a whole batch before anyone notices. Often, solid 3D printer calibration is what separates happy repeat customers from a stack of rejected parts.
Nozzle Height Calibration in 3D Printer Calibration: Getting the First Layer Right
The first layer of a print often sets the tone for the whole job, and issues can appear quickly if it’s off. Getting the nozzle height right means finding that balance—close enough for the filament to stick well to the bed (the middle area often gives the most even contact), but not so close that it’s squished or scraping. If the nozzle is too high, the filament won’t bond; too low, and you might see scratches or dragging. Even a tiny tweak, around 0.05 mm, can change things from perfect sticking to a failed start.
For high-speed, high-precision applications, nozzle height calibration and extrusion consistency are now largely handled by integrated sensors, allowing engineers to focus on design rather than machine setup.
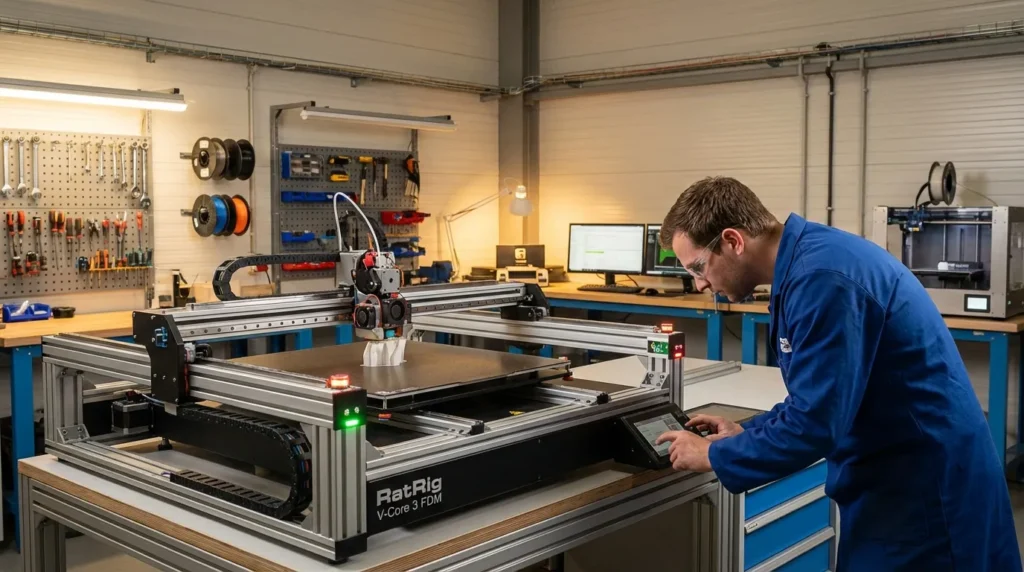
Some setups remove the guesswork entirely. Touch-probe and optical sensors can check and adjust the height automatically, sometimes in less than 30 seconds. On RatRig V-Core printers with Klipper, it’s fast, consistent, and works across multiple machines. That reliability means you spend less time adjusting, even if you change nozzles a few times a week.
If you’re calibrating manually, a feeler gauge works well, but even a piece of paper can be surprisingly accurate. It’s smart to recheck after maintenance, swapping nozzles, or changing filament, since heat and wear can shift things. Before a big print, a quick single-layer test can help avoid wasted hours by making sure the first pass is right.
Bed Leveling and Mesh Compensation in 3D Printer Calibration
Bed leveling means making sure the print bed lines up with the nozzle’s movement so the melted plastic sticks where it’s supposed to, especially in the center and corners, where small offsets can cause trouble. Mesh compensation takes this further by spotting tiny height changes across the bed and adjusting the nozzle’s position as it prints. Even sturdy build plates can bend a bit over time, usually from repeated heating and long print jobs.
Some newer printers use advanced tools for this—lidar scanners, inductive probes, and other sensors that check dozens or even hundreds of points. On big machines, scanning more than a hundred spots is pretty normal. This creates a detailed mesh map the printer uses during printing to keep that first layer pressed in evenly, and that layer often decides if the rest of the print will work.
The data proves it. In 2025, automated mesh leveling raised first-layer success rates in industrial setups by about 35%, cutting wasted filament, avoiding restarts, and giving production shops more consistent output when making hundreds of parts weekly.
| Technique | Benefit | Adoption Rate |
|---|---|---|
| Manual Leveling | Low cost | Declining |
| Sensor-Based Mesh | High precision | Rising |
| Dynamic Compensation | Adapts mid-print | Emerging |
For busy production lines, linking mesh compensation with your MES system can make tracking quality easier, letting you match mesh profiles to batches and quickly see why a certain run turned out differently.
Temperature Profiling for Consistent Layer Bonding in 3D Printer Calibration
Keeping print temperatures steady isn’t just about setting a number, it usually means keeping an eye on it from the very first layer to the last, which can be harder than it sounds. When heat levels drift too much, you can end up with weak bonds between layers, warped parts, or filament that starts breaking down before the print finishes.
For bigger build plates, a multi-zone heated bed can be really helpful. These spread heat evenly so the outer edges don’t cool too quickly and mess up adhesion. On long prints, it can help to tweak nozzle temperatures mid-job, especially if the room cools, print speed changes, or cooling fans suddenly run harder.
Some materials are much less forgiving. ULTEM, for instance, needs very steady heat to keep its strength and avoid warping; even a small 5°C drop can cut tensile strength by about 12%. You can read more here: 3D Printer Thermal Management for Industrial 3D Printing.
Advanced setups often record every temperature shift and compare it with mechanical tests, helping engineers fine-tune heat settings and often make prints stronger and more accurate.
Building an Industrial 3D Printer Calibration Workflow
On a busy manufacturing floor, 3D printer calibration works best when it’s part of the everyday routine, whether that’s daily, weekly, or whatever fits your process, instead of turning into a last‑minute rush. When it’s done alongside regular maintenance jobs like oil changes and filter swaps—the boring but necessary tasks—machines tend to stay ready for action and downtime becomes less of an issue.
A handy starting point is automated bed leveling, since it saves you from a bunch of later tweaks. Checking nozzle height, setting the right extrusion multiplier, and making sure mesh compensation fits your build plate helps keep prints steady. You can also run temperature profiles for your most‑used materials, then adjust motion system settings until everything moves smoothly without odd bumps.
A calibration log can quietly make a difference. Tracking settings, ambient conditions, and results often uncovers issues before they spread. In bigger setups, sending this data to your MES or ERP lets you see exactly who handled each step and when, making tight quality goals much easier to hit.
Want to see how this connects with upkeep? We looked at that here: Industrial 3D Printing Maintenance Guide for Maximum Reliability.
Your Path Forward with 3D Printer Calibration
3D printer calibration doesn’t have to feel like the slow, boring task it used to be. With smarter approaches and the right tools, it can be quick, accurate, and far less stressful, keeping production running smoothly without those annoying mid-job stoppages that throw off your schedule.
For industrial FDM systems in Australia, the interesting part is finding where automation can help. You might see sensor-based routines that adjust settings while printing, or profiles set for each filament so you’re not stuck guessing. Closed-loop control systems often turn out to be the quiet winners here—they can cover their own cost faster than you’d expect, sometimes in just a few months, thanks to less wasted material, fewer troubleshooting headaches, and a clear boost in output.
Think of your calibration setup as something that should keep improving over time. Small changes usually mean fewer problems to fix and more time making high-quality parts. It grows with your machines, your materials, and the way you work.
A smart first step? Try automated bed leveling. That one change can bring sharper details, steadier results, and happier operators with less downtime. Once tuned, your FDM printer becomes a reliable workhorse, producing consistent, accurate parts at the pace modern manufacturing needs.
