Table of Contents
Klipper Firmware Optimization: Tips for Enhanced Performance
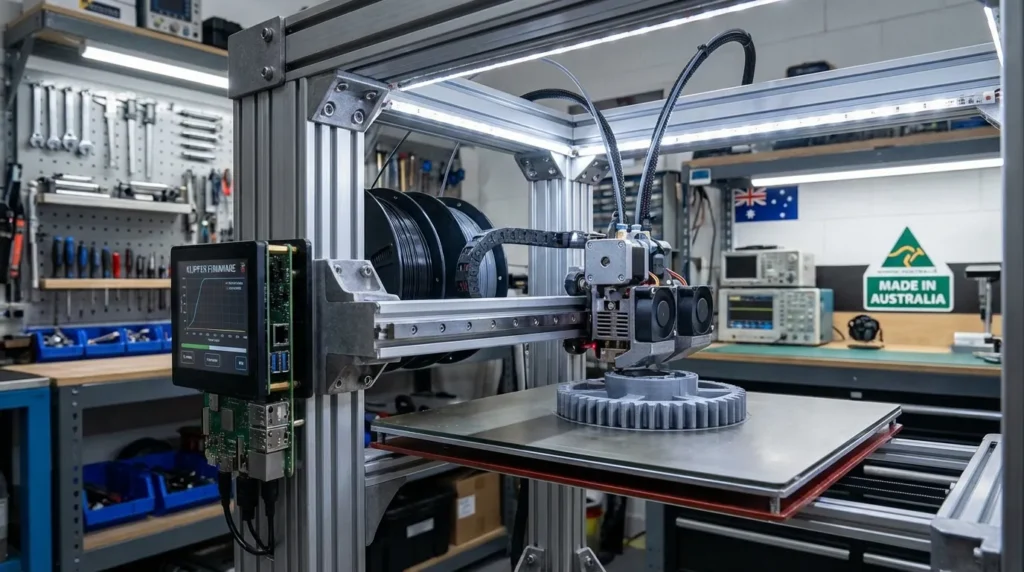
When you’ve been pushing your FDM 3D printer to pump out parts quicker without losing sharp detail, whether it’s running in a busy workshop or sitting neatly on your desk, every minute saved can feel like a win, especially when a deadline is looming. From quick prototypes to custom jigs to polished finished parts, it’s a big help to have firmware that keeps up instead of slowing you down. All over Australia, plenty of makers point to Klipper firmware as their choice for getting extra speed and accuracy from their machines.
Klipper works differently from older firmware like Marlin. Instead of making the printer’s small microcontroller handle all the motion math, it moves that job to a host computer, usually a Raspberry Pi. That little board can run higher step rates, give smoother motion, and open up advanced features like input shaping, pressure advance, and a bunch of fine-tuning tools. In real use, the boost in performance is easy to notice.
The goal here is simple: explore how to set up Klipper firmware for the best results, see its strongest features, adjust the key settings, and keep things stable when pushing your printer hard. For perfect calibration, check the full guide here: Essential Guide to 3D Printer Calibration: Techniques for Precision and Performance.
Understanding Why Klipper Firmware Outperforms Traditional Firmware
Klipper firmware is designed for speed. Instead of making the microcontroller handle all the motion planning, which can slow things down, it moves that job to a connected host computer. This is how it can reach stepping rates up to 600,000 steps/sec on a 32-bit MCU, while an 8-bit MCU usually tops out around 175,000 steps/sec. For anyone used to slower setups, that’s a big jump.
| Metric | Value | Year |
|---|---|---|
| Maximum print speed | 500 mm/s | 2024 |
| 3DBenchy print time | 15, 20 minutes | 2024 |
| Printing accuracy | 0.1 mm | 2024 |
These numbers aren’t just for show. In actual production, especially in busy industrial shops, teams have seen print times drop a lot without running at unsafe speeds. It’s common to see a 30, 50% boost in output because Klipper firmware processes movement commands faster and with more consistency. That steady performance at higher speeds often means motors, belts, and other parts last longer, something operators value when repairs cut into work time. Detailed designs with heavy G-code loads, which older firmware might struggle to run smoothly, often print easily with Klipper’s host-based setup. Movements stay smooth, with no little pauses or hiccups breaking the flow.
Many people that switch to Klipper find a significant decrease in print times even when using similar speed settings, evidence that many printer boards are struggling to keep up.
With its split-control design, complex multi-extruder machines like IDEX printers are easier to run while staying in perfect sync. Imagine a dual-head printer making two mirrored parts at once, Klipper keeps each path perfectly matched so they finish together, identical in detail from start to end. For more insights on multi-material printing, see Mastering Multi-Material 3D Printing with IDEX and Klipper in Professional Workflows.
Fine-Tuning Input Shaping for Vibration Control
One of Klipper’s more impressive, and surprisingly fun, features is input shaping. By slightly adjusting motion commands, it counters your printer’s natural vibration tendencies. In simple terms, it smooths out the small shakes and ripples that can sneak into prints, especially when you’re running at faster speeds.
For the best outcome, it’s often helpful to use an accelerometer mounted right on the carriage, in the same spot the hotend moves. Running Klipper’s resonance test will show the exact vibration frequencies for your printer. A good method is to take those readings and enter the suggested shaping values directly into your printer.cfg. Instead of jumping straight into big projects, try a quick test print, something with fine text or sharp edges, so you can clearly see the difference.
Once you’ve made those changes, high-speed printing becomes easier to manage, cutting down on issues like ghosting or visible ripple marks. Input shaping figures out how your printer reacts to sudden changes in direction, then “pre-cancels” those forces before they reach the print. That’s how a CoreXY running at 300 mm/s can still create clean lattice designs and readable embossed text. In a busy workshop, where keeping within ±0.05 mm tolerance is common, this level of control can save material and reduce the need for extra finishing, meaning fewer hours sanding or trimming.
For industrial work, vibration control goes beyond looks. When making tooling or parts that must meet tight specs, it helps keep measurements consistent without constant adjustments. It also eases wear on bearings and rails during long jobs, often leading to longer life for the hardware and more reliable accuracy over time.
Leveraging Pressure Advance for Clean Extrusion
Pressure advance in Klipper firmware is a handy setting that helps deal with the small delay between the extruder moving and the moment filament starts flowing. At faster print speeds, you might notice thin strings or little blobs appearing as the nozzle slows down, small defects that can be easy to spot.
A good way to tune it is by running a short test pattern and watching closely for spots where extrusion pushes too far. Tweaking the pressure_advance value can sharpen corners, stopping the filament right at the edge instead of letting it drift forward. It’s best to make small adjustments and check several corners, since results can change with different materials or temperatures.
This setting is especially useful when printing with more than one material, like on IDEX machines. Paired with Klipper’s smooth motion control, material swaps can look clean. For example, when switching from PETG to TPU, a well-set value often removes those annoying blobs, helping layers stick better and making details sharper.
During heavy print sessions, fewer strings mean more time making parts instead of cleaning them up. Many experienced users keep a quick list of their favorite filament settings, so changing materials is as easy as loading and hitting print.
The increase in print speed alone is incredible. Not to mention making changes on the fly in easy to use config files instead of compiling and flashing Marlin every time you want to make a change.
Optimizing Slicer Settings for Klipper Firmware
A slicer works like the go‑between for your design software and the actual print, basically translating your model into instructions your printer understands. If you want Klipper firmware to really show its speed and accuracy, it’s worth adjusting slicer profiles so they fit the firmware’s strengths instead of slowing it down.
Here are a few tweaks to look at:
- If your slicer can use arc commands, turning them on usually makes curves smoother and cuts down on the number of tiny segments.
- Set acceleration and jerk to levels Klipper can run without trouble, too high and you risk skipped steps.
- Try firmware retraction; it can make filament changes quicker and help reduce stringing.
Cura 5.4, for instance, includes features for Klipper firmware users that remove extra curve segments, letting motion planning run easier. With G2/G3 arc commands enabled, Klipper treats a curve as one continuous move instead of hundreds of stops, meaning less work for the processor and cleaner paths. Keeping jerk settings in Klipper’s sweet spot helps avoid odd vibrations or layer shifts. In shared setups, trading well‑tuned profiles between printers keeps results consistent.
Get these settings right, and Klipper firmware can handle tough prints without being slowed down by cautious defaults.
Scaling Up with Multiple Microcontrollers
Some of the more advanced printers, like dual extrusion setups, tool-swapping heads, or other detailed designs, can use Klipper’s ability to run several microcontrollers at once. Each controller handles its own hardware section, which helps things run smoothly and avoids putting too much load on a single board.
This isn’t only for high-end 3D printing. It’s also useful if you want to mix CNC machining with additive manufacturing in one machine. Picture one controller running a milling tool while another keeps the FDM extruder going. Switching tools mid-project happens without a hitch, and slowdowns don’t happen often. Splitting tasks this way usually lets each part of the machine work close to its top speed with fewer problems. On huge printers, different MCUs might control separate gantries, each producing parts at the same time. And if one stops working, swapping it out fast keeps the rest running so production doesn’t halt. For advice on keeping such setups reliable, check Maintaining Industrial 3D Printers: Best Practices for Longevity and Performance.
Staying Updated for Continuous Improvement
Klipper pushes out updates so often that it can feel hard to keep up. New motion tweaks, extra hardware support, and smoother UI changes for Mainsail or Fluidd often arrive before you’ve even tried the last batch. There’s almost always something new to explore.
A good way to stay on top of changes is to follow Klipper’s GitHub release feed, it’s the most dependable spot for catching major updates like new driver support or creative firmware changes. If you want to test things hands-on, using a spare or backup printer is the safest bet, especially for features you’re unsure about. Keeping a simple record of every configuration change, even small ones, makes it much easier to set up other machines the same way. Sharing these notes with friends or online groups can bring helpful feedback and save you headaches later.
In busy shops, trying fresh upgrades like smoother stepper motion or smart acceleration tuning can be fun. However, combining them with careful logs and a backup printer helps avoid unexpected downtime.
Start Optimizing Today
Klipper firmware combines speed, accuracy, and flexibility with precise control that’s hard to beat, whether it’s running a busy workshop or showing how far a weekend printer project can go. Tools like input shaping and pressure advance can be tuned to match your specific printing goals, and slicer settings can be adjusted until the results look exactly how you want. Multi-MCU setups are worth looking at too; they often create those fun “wow” moments for people who like to experiment.
Improving your setup works best as an ongoing habit instead of a single fix. You’ll see patterns in test prints, notice what’s smooth or off, and tweak settings to improve them. The basics still count, cleaning and recalibrating regularly helps keep print quality steady. Many users follow a monthly or quarterly routine, making small changes that lead to faster prints, cleaner surfaces, and less wasted filament.
With steady attention, Klipper firmware can make almost any printer perform at a seriously impressive level.
